EWS356-FIT
৳ 14,345
| CPU | ||
| Model | Qualcomm® Quad-Core ARM Cortex A53 @ 1.8GHz | |
| Architecture | 32-bit | |
| Hardware Encryption Acceleration | Yes | |
| Memory | ||
| System Memory | 2GB DDR4 | |
| eMMC | 8GB (MLC) | |
| Interface | ||
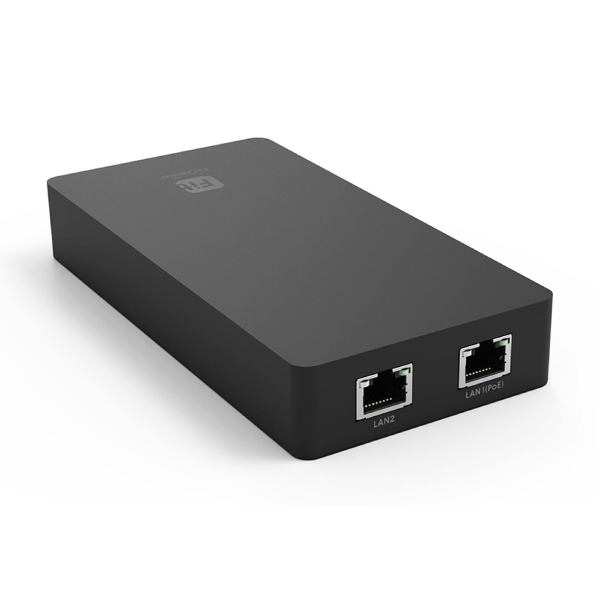
| Ethernet Ports | 2 x 10/100/1000 Mbps RJ45 (1 x PoE 802.3af) | |
| Micro SD Slot | 1 x Micro SD Slot | |
| DC-Input Jack | 1 x DC-Input Jack | |
| Reset Button | 1 x Reset Button | |
| LED Indicators | ||
| Power | 1 x Blue LED | |
| LAN | 2 x Green LEDs | |
| Management | ||
| Max Device Support | Manage up to 100 EnGenius Devices (APs or Switches) | |
| Dashboard | Managed Devices, System Resource, Recent Projects | |
| System Resource Usage | CPU, Memory, Disk utilization | |
| Global Settings | Multi-Tenant Accounts: Master, Users, Guests | |
| Alerts | Email Alert | |
| Backup / Restore | To FitController or Micro SD card | |
| Maintenance Options | Reboot/Reset, Bulk Update, Software Update | |
| Auto Features | Auto Transmit Power, Auto Channel | |
| Device Inventory | Register EnGenius FIT Devices | |
| Project Management | Device Config, Summary, SSID Settings, VLAN, Fast Roaming, Band Steering, Traffic Shaping | |
| AP Groups | Supported | |
| Scheduling | Reboot, SSID Scheduler | |
| Monitoring | Rogue AP Detection, Active Clients | |
| Visualization | Topology View | |
| Statistics | Real-Time Throughput, Wireless Client Info | |
| Hotspot Service | Captive Portal (NAT / Bridge), Guest Account | |
| Supported Models | ||
| Compatibility | EWS FIT AP, EWS FIT Switch | |
| Operating Conditions | ||
| Temperature | 32°F ~ 122°F (0°C ~ 50°C) | |
| Humidity | 0% ~ 90% typical | |
| Storage Conditions | ||
| Temperature | -40°F ~ 176°F (-40°C ~ 80°C) | |
| Humidity | 0% ~ 90% typical | |
| Dimensions & Weight | ||
| Device Dimensions (L×W×H) | 174.25 mm × 77.4 mm × 43 mm | |
| Device Weight | 165 g | |
| Packaging Dimensions | 174.25 mm × 100.5 mm × 43 mm | |
| Packaging Weight | 260 g | |
| Master Carton | 17.95″ × 8.66″ × 8.26″ (20 pcs/carton) | |
| Master Carton Weight | 5.82 kg | |
| Certifications | ||
| Compliance | FCC, CE, IC, UKCA | |
| Mounting | ||
| Mount Options | Wall Mounting, Ceiling Mounting | |
| Package Contents | ||
| Included Items | FitController100, Product Card, Ethernet Cable, Wall Mount Accessories (No Power Adapter) | |
| Power Source | ||
| Power Input Options | Optional DC12V/1A Adapter or PoE Switch (802.3af) | |

System Requirements
Web Browser
Google Chrome (105.0.5195.127 or later)
Network Requirements
Before you get started, please make sure your network environment is DHCP-enabled. EnGenius FitController is assigned with a default IP address dynamically by the DHCP server.
Please also make sure all the devices managed by the controller are in the same L2-network as the controller.
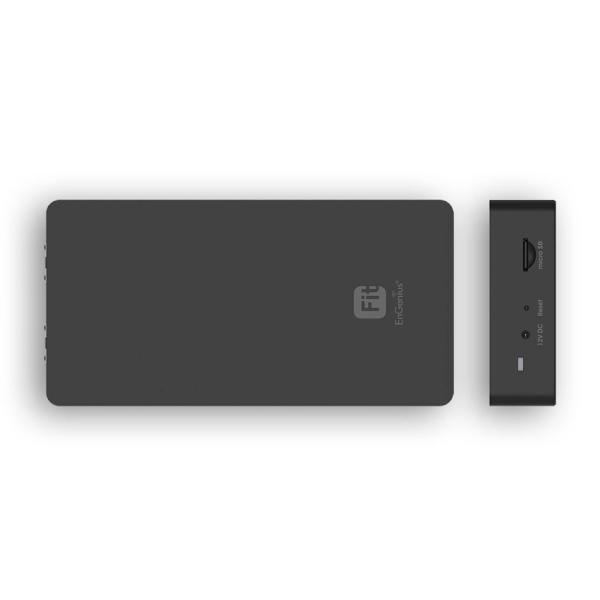
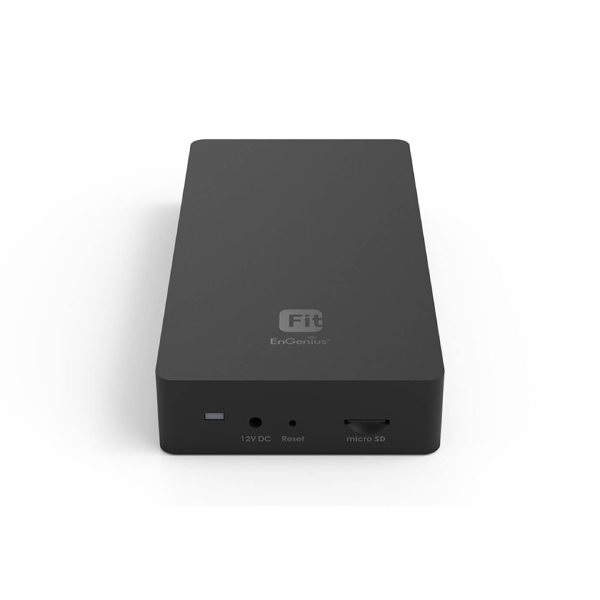
Hardware Overview
Ports

Reset Button:
Reset to default: Press and hold the reset button for over 10 seconds, and the LED (PWR) will blink for 0.4 secs before the lights off. Then, the device will be reset to factory default settings.
LEDs

Hardware Mounting
Mark the screw position with the Screw Position Identifier.

2. Drill the holes with 7mm diameter and 24mm depth on the marks.
3. Insert the Anchors into the drilling holes until they are flush with the wall.

4. Insert and tighten the Screws into the Anchors, but leave the screw head sticking out so you can hang the Controller on it.

5. Hang the Controller against the wall onto the Screw heads.

Power On Device
The EnGenius FitCon100 devices can be powered by any of the following:
EnGenius Cloud PoE Switch or 802.3af PoE+ compliant Switch
Power Adapter (DC 12V power input)
Caution: Do not use both power sources at the same time.
Connecting to a PoE Switch
Connect the Ethernet cable from the EnGenius Fit Controller directly to the PoE port of the PoE switch.

Powering with a Power Adapter
Connect the Power Cord to the adapter, and then plug the Power Cord into the power outlet.

Configuration
Step 1: Access to the Web Page
You can access the controller's web page by using the controller's DHCP-assigned IP or default IP address.
Connect to Controller via DHCP-assigned IP
Connect the controller to the network and ensure that your host system is on the same Layer-2 network as the controller.
Check the DHCP server for the controller's IP address, and enter the IP on your browser's address bar to access the device's user interface.
Connect to Controller via Default IP
Connect the controller to your computer and ensure its IP address is in the same subnet.

2. Under your web browser, enter the URL: http://192.168.1.250:8080 to access the device's user interface.
Have question about this product? Get specific details about this product from expert.
Get specific details about this product from customers who own it.
YOUR CART